Click here to view the release notes.
Sections of this article
Deactivating and Archiving Courses
Reviewing Mapped Courses/Sections
Accessing the Course Catalog Menu
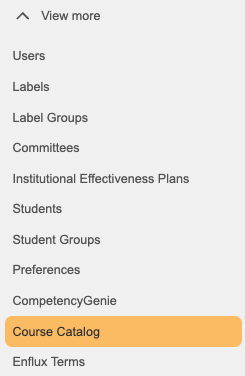
To access the Course Catalog Menu, you must be an admin-level user. In your Sidebar Menu (left side of your Enflux platform), click "View more" to expand your Admin Menu. In this listing, select "Course Catalog"
Course Catalog Menu - Columns Defined

-
Subject Number: A code that identifies a specific course, usually combining letters (subject) and numbers (course level), e.g., PHARM 103.
-
Course Title: The official name of the course, describing its content, e.g., Introduction to Pharmaceutics.
-
Status: Indicates the current state of the course, such as Active, Inactive, or Archived.
-
Sections: The number of sections currently mapped to that course.
-
Curriculum Year: The term and or professional year associated with the course. For example, "Fall P1" would indicate the course occurs in the Fall and is for students in their first professional year (P1).
-
Credit Hours: The number of academic credits awarded upon successful completion of the course.
-
Last Edited By: The name or ID of the person who most recently updated the course information.
-
Comment: Additional notes or context related to the course, used for internal remarks or clarifications. Hover over the comment icon to read the comment.
Navigating the Course Catalog Menu
Use the Search bar to search for Courses or Sections in your listing.
To search for Sections, click the "Courses" drop-down menu and then click "Sections".
You may search by course/section name, subject number, curriculum year, or credit hours.
![]()
To access additional filters, click the "Show filters button.
This allows you to filter your listing by status, year, and by editor.
Displaying Additional Rows
By default, this page displays 10 rows of courses per page. To expand the number of rows shown, use the "Rows per page" drop-down menu at the bottom of your course listing. You may select up to 50 courses per page.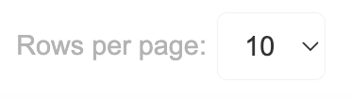
To navigate to another page, use the page navigation tools on the bottom-right portion of your window. Use the < / > buttons to go to the next page. Use << / >> buttons to first or last page in your listing. You may also type in the page number in the field to the right to go to a specific page without having to click the arrow buttons.

Creating a New Course
To create a new course, click the Create New Course button.
This opens up a side menu where you may enter the Course title, Subject number, Curriculum year and number of credit hours. Required fields are indicated by the red asterisk. We highly recommend inputting the number of credit hours if you know that value. 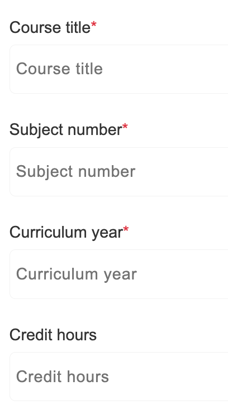
You may adjust these fields after the course is created by clicking the orange stacked-dots button on the right-most column of that course's row. This will open the menu below:
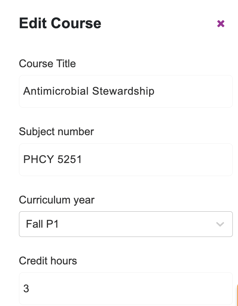
When making changes to a course in your listing, you are prompted with a "Reason for change" field where you must indicate why the change was made. This appears as a "comment" in the comment area so that other users know why this change was made. To finalize your change, click the "Edit Course" button. If the button is faded gray, you still need to enter a comment.
Comments appear in the "Comment" column. If a course/section has a comment associated with it, the comment icon will be purple. You may hover over the comment icon to read the comment.

Deactivating and Archiving Courses

If there is a course that you no longer need or do not want to see in the menu, you may click the stacked-dots button to deactivate or archive the course.
Deactivating the course hides it from your course catalog filter in the dashboards. Archiving the course indicates that the course is no longer part of your curriculum.
Review Mapped Courses/Sections

To review what sections are already mapped to a course, click the purple arrow button next to the Subject Number column, then click the purple arrow next to "Course Sections". Doing so will display the associated sections.
In the listing below, you may review the information related to those sections. You can also edit, un-map or deactivate the sections using the stacked-dots button in the right-most column on your listing.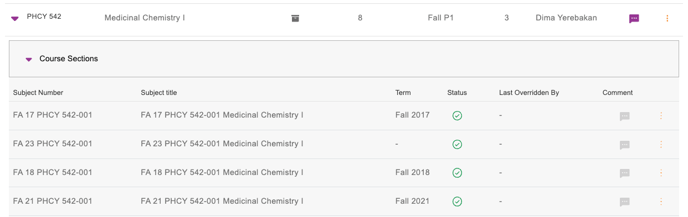
Statuses Explained: The Status column at the course level displays one of three different indicators: ![]() Active - The course is active in your listing and dashboards.
Active - The course is active in your listing and dashboards.
![]() Deactivated - The course is deactivated and does not appear in your dashboards.
Deactivated - The course is deactivated and does not appear in your dashboards.![]() Archived - The course is no longer needed or no longer part of your curriculum.
Archived - The course is no longer needed or no longer part of your curriculum.
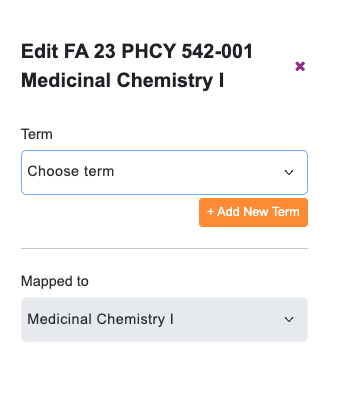
When editing a section, you may adjust the term it is associated with and which course it is mapped to:
Reviewing Unmapped Sections
At the top of your Course Catalog Menu, you may see a message like the one below:

This indicates that you have sections that are not mapped to your course catalog courses. To see those sections, click the purple "See unmapped sections" button.
Upon visiting the page, the number of unmapped sections will display at the top of your menu. 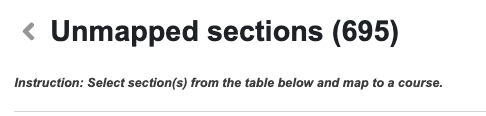
Just like the other menu, you may search for sections by their title or subject number.
The sections are listed in the table below the search bar. You may click any of the column headers to sort the table. Clicking once applies an ascending sort, clicking twice applies a descending sort, and clicking a third time applies the default sort. 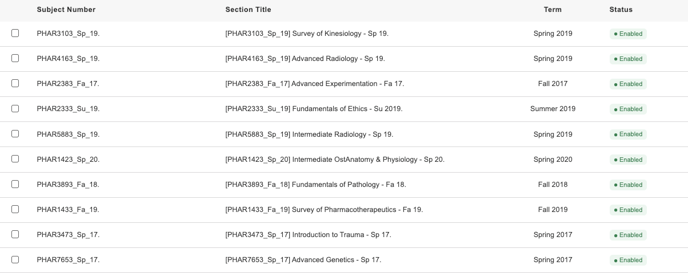
Mapping Unmapped Sections to Courses
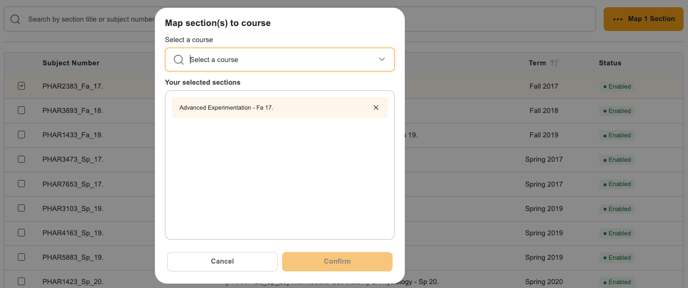
In your section listing, click one or more of the checkboxes in the left-most column of your table. Once at least one section is selected, you can click the orange "Map Section" button
After clicking the Map Section button, a pop-up menu will appear. Use this menu to search for and select a course that the sections should be associated with. After selecting your course, click the orange "Confirm" button to save the mapping. If the button is faded out and un-clickable, then you have not selected a course.